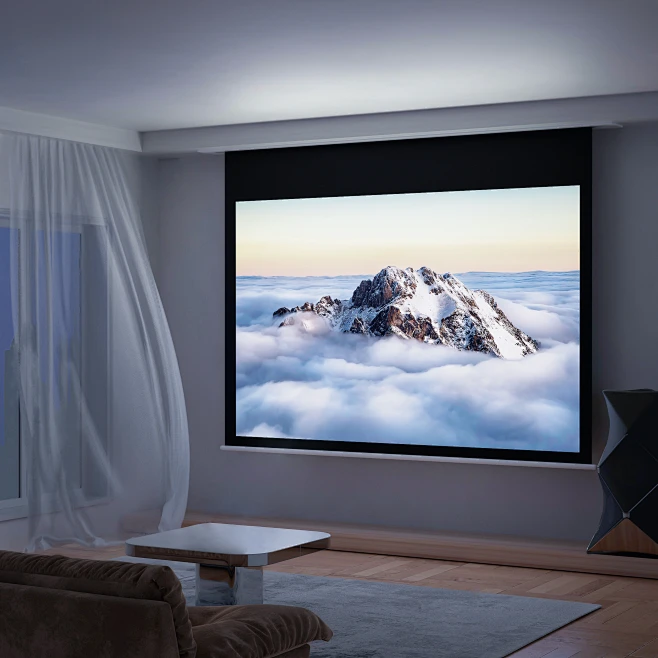
When creating seamless large-scale visual displays,DLP projection screen blending technology stands out. Let’s start with the basics: DLP (Digital Light Processing) works by digitally processing images before projection. Here’s the workflow: Light from a UHP lamp passes through a condenser lens and light pipe for homogenization, then goes through a color wheel (separating into RGB or RGBW), hits a DMD (Digital Micromirror Device) chip, and reflects through the lens onto the screen. DLP is renowned for its reliability, portability, bright output, and stunning image quality.
Edge blending takes this further by merging multiple projectors into one continuous, high-resolution image without visible seams. While projectors and software do the heavy lifting, the projection screen is critical to system performance—choosing the right one makes or breaks your installation.

1. How to Choose the Ideal Screen for Blending Setups
a. Opt for Rigid Metal Screens
In edge-blended projections, even minor misalignments cause overlapping shadows or color shifts. Rigid metal screens are our top recommendation:
- Stability: They stay flat and mount permanently, preventing sagging or movement that could disrupt alignment over time.
- Professional Aesthetics: Their non-flexible design offers a premium look suitable for control rooms, exhibition halls, and other professional spaces.
b. The Case for Low-Gain Screens
Gain refers to a screen’slight reflectivity. Higher gain (>1.2) brightens images but narrows viewing angles. In blending systems, high-gain screens make the overlap zone (where two projectors meet) appear uneven from side angles, breaking the illusion of a seamless image.
Choose screens with gain below 1.2 for:
- Wider viewing angles that ensure consistent brightness and color across the entire display, regardless of the audience’s position.
- Eliminating “hot spots” or dark bands in the blended area.
c. Calculating the Right Screen Size
Blending requires overlapping images (typically 20% or more). Screen size depends on projector count, resolution, and desired height. Use these formulas:
- For 1920×1080 projectors:
Screen Width = (0.8 × Number of Projectors + 0.2) × Screen Height × (1920 ÷ 1080) - For 1280×800 projectors:
Screen Width = (0.8 × Number of Projectors + 0.2) × Screen Height × (1280 ÷ 800) - For 1024×768 projectors:
Screen Width = (0.8 × Number of Projectors + 0.2) × Screen Height × (1024 ÷ 768)
These account for overlap to ensure precise alignment.

2. FAQs
Q: Can I use a regular whiteboard or wall for projection blending?
A: While possible, it’s not recommended. Ordinary surfaces lack the gain consistency and flatness needed to avoid hot spots and alignment issues. A specialized screen ensures color uniformity and seamless edges.
Q: How many projectors do I need for a 10-meter wide screen?
A: It depends on resolution and brightness. Two 1920×1080 projectors with 20% overlap can create a large, bright display. Always use the size formula for accurate planning.
Q: Does ambient light affect screen choice?
A: Significantly. In bright rooms, a slightly higher-gain screen may help, but be cautious— it can narrow viewing angles. For blended setups, we still prefer low-gain screens and recommend controlling ambient light or using higher-lumen projectors instead.
3. Final Thoughts
A successful DLP blending installation isn’t just about top-tier projectors—it’s about choosing the right “canvas.” The screen’s material, gain, and size directly impact the final image quality.
At ZSMSCREEN, we specialize in custom projection screens for edge blending systems. Whether designing a control room, simulation environment, or entertainment venue, we’ll help you select or custom-build the perfect screen.
Ready to learn more? Contact our experts today for a free consultation!


